On this page
- Avoiding expensive sharpening gadgets
- Flat vs convex cutting edges
- The thumb method for angle consistency
- Pre-sharpening on the belt grinder
- The burr or wire edge
- Stone progression on the bench
- Stropping for a surgical finish
- Testing the edge
- Series conclusion
- Supplies mentioned
- Watch this lesson
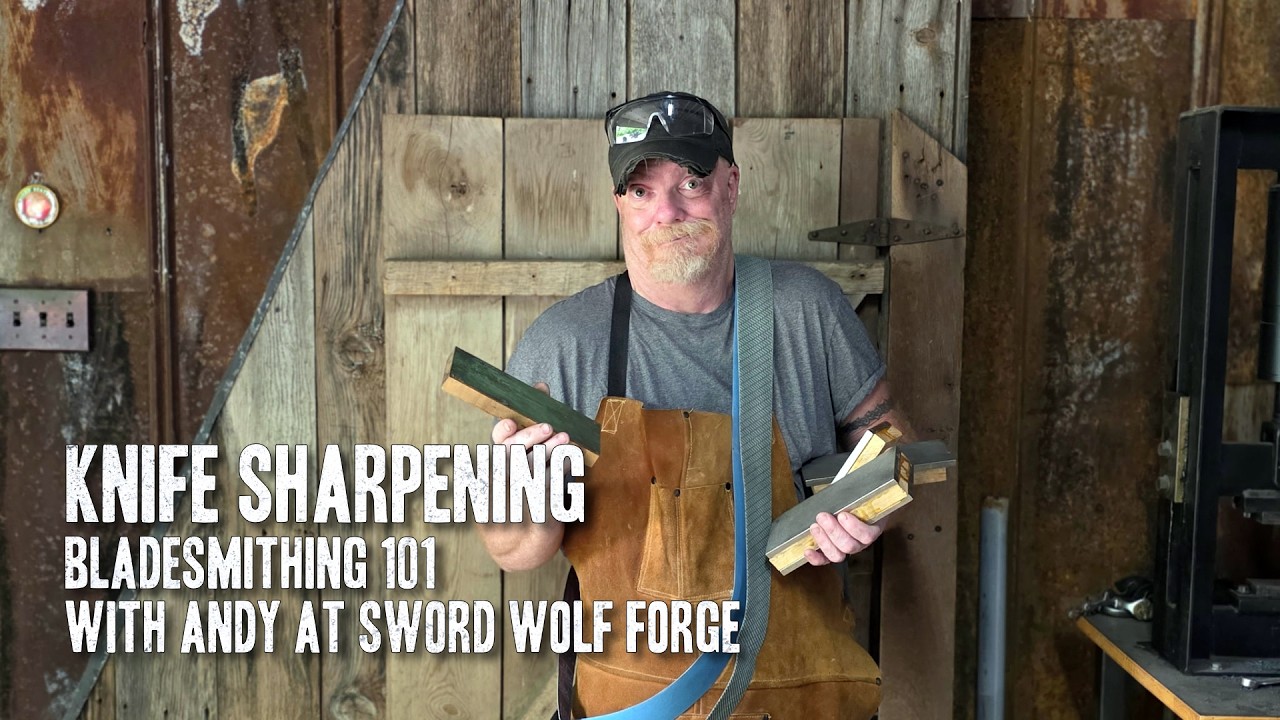
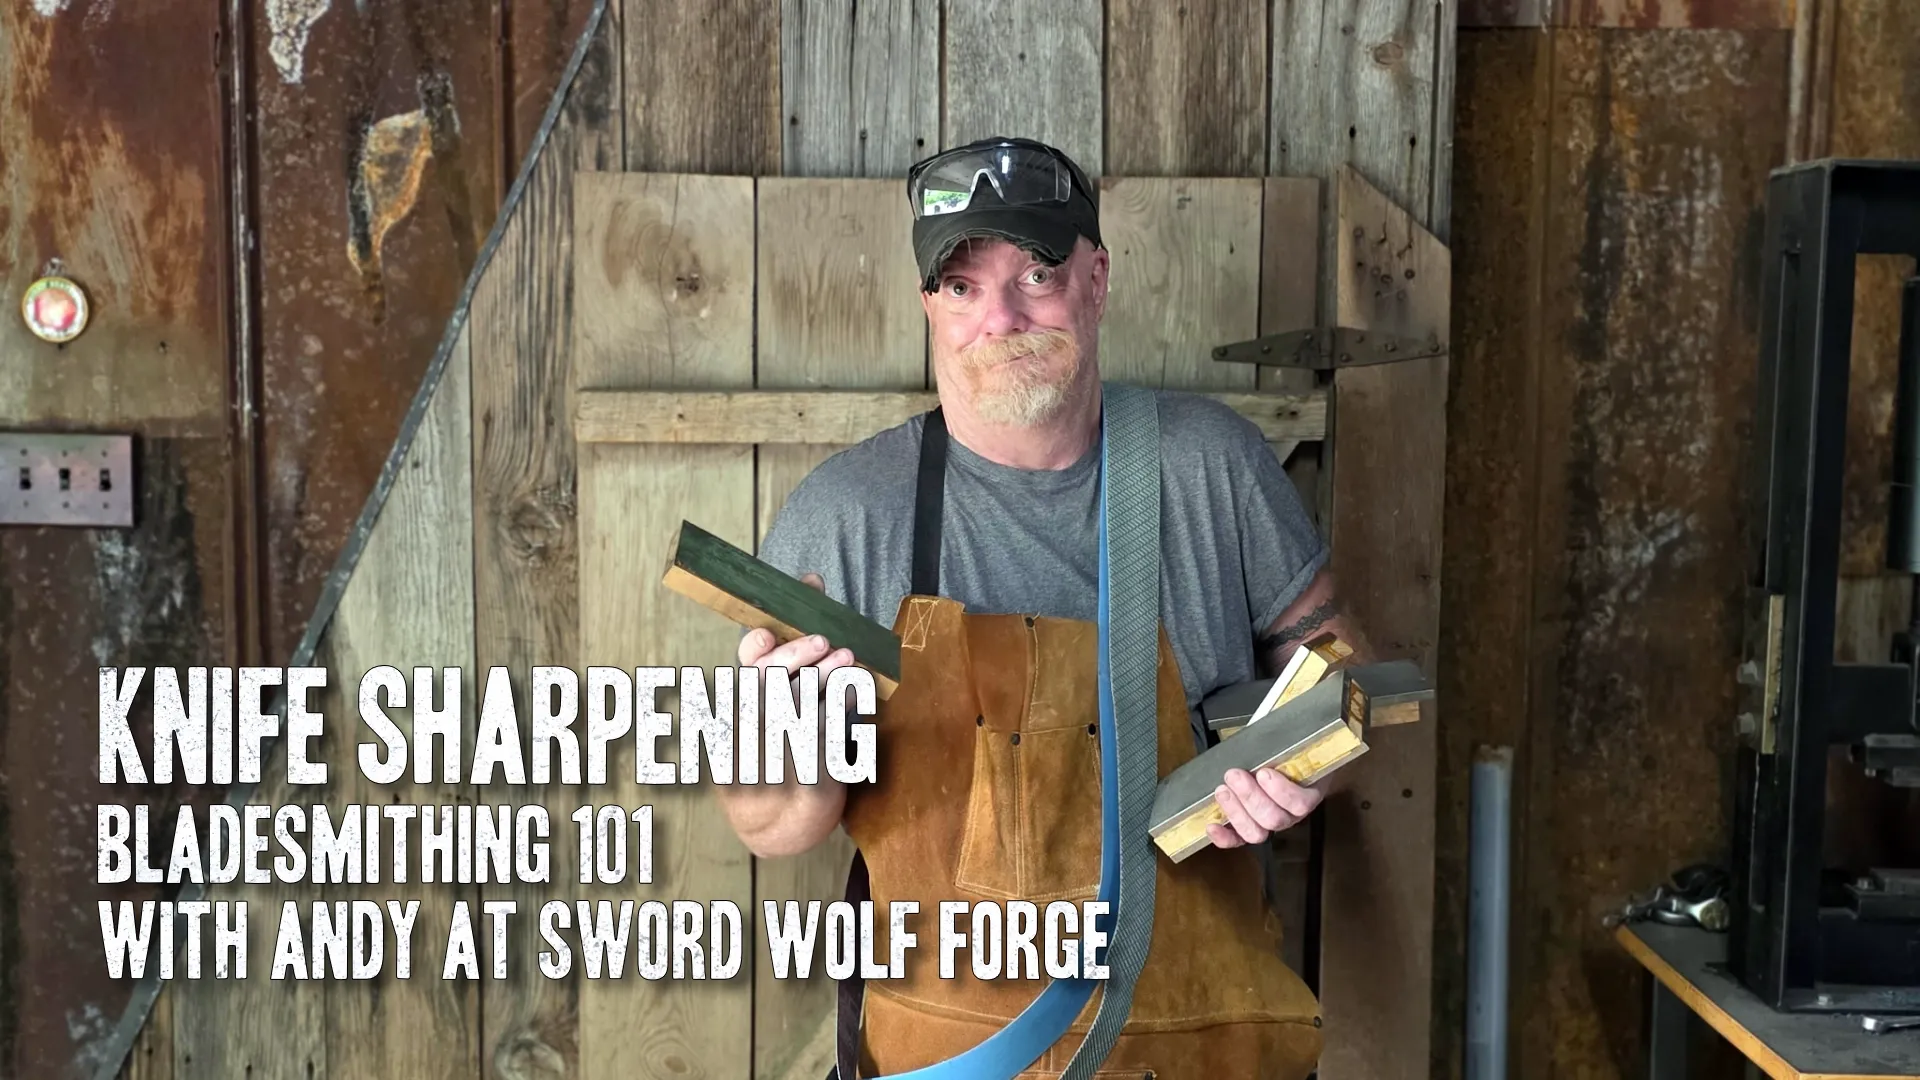
If you have been following the Bladesmithing 101 series, your knife should be ground, heat-treated, hand-sanded, and fitted with handle scales. The last step is sharpening: turning a finished piece of steel into a tool that actually cuts.
Sharpening frustrates many beginners—and it can get expensive fast if you chase every clamp system, angle jig, and pull-through gadget on the market. The approach below uses simple abrasives, repeatable hand technique, and a short belt-grinder step to save time. It is the same workflow I use in the shop for everyday carry and outdoor knives.
Avoiding expensive sharpening gadgets
Popular clamp-on sharpeners hold the blade at a fixed angle, which sounds helpful until you use one on a finished knife.
Clamping risks scratches. Rigid clamps bite into hand-rubbed flats and plunge lines. You just spent hours on the finish; a metal or plastic jaw can mark the steel in seconds.
Clamping risks inconsistent angles. Unless you mount the blade in the exact same spot every session, the secondary bevel angle shifts. Small changes compound into a rounded, dull edge.
I moved away from clamp systems years ago. Electrical pull-through sharpeners are worse: they tear steel aggressively and leave visible scratches. Freehand sharpening with stones takes practice, but it protects your finish and scales with any blade shape.
Flat vs convex cutting edges
If you followed Lesson 6 on grinding bevels, you already chose primary bevel geometry. The same terms apply to the secondary cutting edge you sharpen today.
- Convex edge — rounded support behind the edge. Robust for chopping and hard use.
- Flat edge — two flat planes meeting at the apex. Excellent slicing and a crisp feel on an EDC or outdoor knife.
Convex edges carry more metal behind the edge; flat edges often slice cleaner on everyday tasks. For this series build—an EDC/outdoor knife—we sharpen a flat secondary bevel.
The thumb method for angle consistency
The single most important habit in sharpening is holding the same angle every time the edge touches the abrasive. Some makers chase exact degrees with wedges and protractors. That can work, but plastic angle guides get in the way while you are actually sharpening.
I use the thumb method instead:
- Hold the handle in your dominant hand.
- Rest the spine on your thumb (outdoor/hunting knives) or place your thumb at mid-spine (thinner kitchen knives).
- Lock that thumb position and use it as a guide rail through the entire stone progression.
The thumb physically sets the angle. If the angle wanders stroke to stroke, you round the edge instead of refining it—and the knife never gets truly sharp.
At first the grip feels awkward, like learning freehand grinding. Stick with it; muscle memory builds quickly and beats constantly resetting a clamp.
Pre-sharpening on the belt grinder
You can establish the secondary bevel entirely by hand, but coarse stones alone mean hours at the bench. I start on the belt grinder to set geometry, then finish on stones.
Hold the knife with your thumb method, note the gap between blade and platen, and match that angle on the grinder. Getting close on the machine means only a few hand-stone passes to refine—not a full regrind.
Setup before you switch the grinder on:
- Run the belt in reverse so travel is upward, away from the cutting edge. A downward-traveling belt can slice through abrasive and ruin the belt.
- Wear safety glasses and keep water nearby. Even at low speed, a thin edge heats fast; overheating can ruin the temper on a heat-treated blade.
Start with a TriZact A300 belt. Use light pressure, keep the blade horizontal to the contact point, and count passes: ten on one side, ten on the other. Under good light, watch the edge. A bright glint along the apex means the secondary bevels have not met yet—keep going until that line is mostly gone.
Switch to a 220 ceramic belt, still in reverse at low speed, and take a few light passes to refine the edge for hand stones.
The burr or wire edge
Hand sharpening follows the same logic as belt progression: coarse to fine. As you work a rough stone, steel folds at the apex into a burr (wire edge) on the side opposite the stone.
Your job is to raise that burr along the full edge, flip it side to side on finer stones, and shrink it until it drops off. You rarely see the burr; you feel it. Drag a thumb lightly perpendicular to the edge—when a tiny lip catches consistently from heel to tip, that side is ready; flip and repeat.
Pros checking edges with a thumb are usually feeling for burr, not testing shave sharpness yet.
Stone progression on the bench
Clamp stones in a heavy machinist vise over rubber matting so nothing walks on the bench. Thin stones benefit from a wood backing epoxied to the reverse side—it raises the surface above the vise jaws and keeps knuckles clear.
Diamond stones stay flat and cut aggressively. I work through DMT grits on an 8-inch Dia-Sharp progression—extra coarse for heavy work, then coarse (325 mesh), then fine—using the thumb method throughout:
- Light pressure with the off-hand on the blade; steer with the dominant hand on the handle.
- Pulling strokes toward you (not heavy push-pull scrubbing) for even contact.
- About ten strokes per side, then feel for burr before flipping.
Do not bear down on diamond; it cuts quickly and excessive pressure wears stones prematurely.
Finish the stone sequence on a Spyderco medium ceramic bench stone. Ceramic is smooth enough to knock off the last microscopic burr fragments and leave a clean apex ready for stropping.
Stropping for a surgical finish
Stropping is the final polish—like a barber drawing a straight razor across leather. The abrasive is soft; it aligns the edge, removes lingering burr, and brightens the apex without grinding metal aggressively.
I keep two shop strops, both leather on pine:
- Naniwa natural leather strop loaded with green honing compound.
- A second leather-on-wood strop dressed with Mother's Mag & Aluminum Polish—fine abrasives in the paste finish the edge beautifully.
Lock your angle and pull away from the cutting edge with firm, even strokes. The compound or polish will turn gray; that is metal being polished off. A good heat treat and a tired EDC edge often come back with stropping alone, without touching stones again.
Testing the edge
Before a knife leaves the shop, I slice thin packing paper. A clean push-cut confirms sharpness; any snag pinpoints a dull spot to revisit on stone or strop.
Series conclusion
If you built this knife from Lesson 1 through today, you moved from a sketch to steel, heat treat, grinds, hand sanding, handles, and a finished edge. That is a full stock-removal knife start to finish.
Keep practicing. When stock removal feels comfortable, try forging the next blade—most of my shop work is forged, but this series stayed accessible on purpose.
Share your builds or questions through the contact form. For every lesson in order, browse Bladesmithing 101.
Supplies mentioned
Products referenced in this lesson and in the video on YouTube:
- DMT 8-inch Dia-Sharp diamond stone — flat diamond plates for coarse-to-fine edge work (extra coarse, coarse, and fine grits in the progression shown)
- Spyderco medium ceramic bench stone — final stone pass before stropping
- Naniwa natural leather strop — leather-on-wood strop for honing compound
- Green honing compound — abrasive loaded into the leather strop
- Mother's Mag & Aluminum Polish — paste abrasive for a second leather strop finish