On this page
- Choosing Your Handle Material
- Flattening the Mating Surfaces
- Drilling the Scales Safely
- Prepping and Fitting Your Pins
- The Crucial Pre-Shaping Step
- The Epoxy Glue-Up Process
- Profiling the Handle on the Grinder
- Sculpting and Contouring for Comfort
- Final Sanding and Tung Oil Finish
- Supplies mentioned
- Watch this lesson
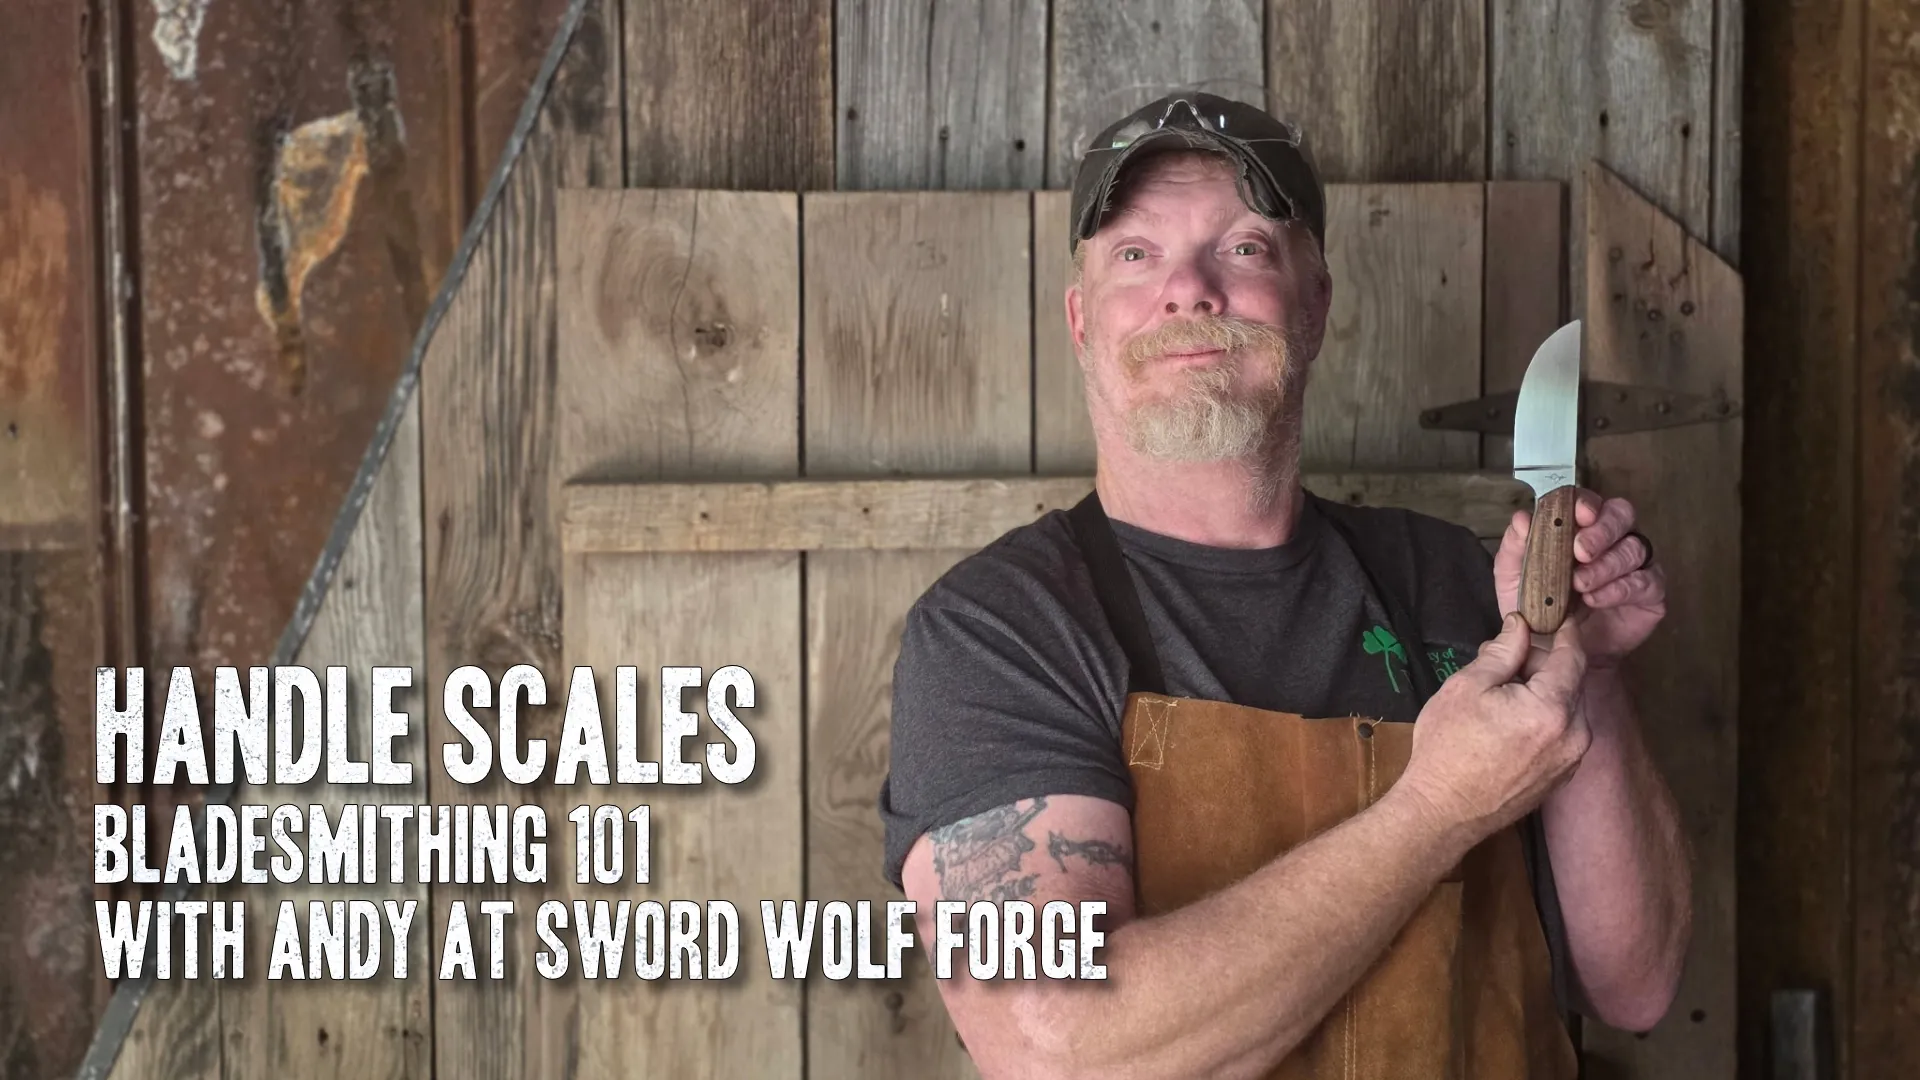
If you have been following the Bladesmithing 101 series, your blade should be ground, heat-treated, and hand-sanded. The next step is handle scales: turning a finished piece of steel into a knife you can actually hold and use.
Handle work can be straightforward or frustrating. Most of my early shop failures involved scales—glued on backward, pins forced through tight holes, wood split during glue-up. The workflow below keeps the process predictable for a first knife and protects the finish you already put on the blade.
Choosing Your Handle Material
Handle scales can be almost anything: stabilized burl, micarta, G10, mammoth ivory, or plain hardwood from a local lumberyard. Supplier-cut blanks are common—roughly 1½ inches by 5 inches by ¼ inch thick.
For a first knife, keep the material cheap and forgiving. Premium stabilized wood is easy to ruin while you are still learning pin alignment and glue-up timing. This build uses local walnut: hard, stable, and attractive once oiled.
Flattening the Mating Surfaces
Gaps between tang and wood weaken the bond and show as glue lines later. Flatten both sides before drilling or epoxying.
Tang: Lay the bare tang on a flat reference surface—a granite plate, thick marble, or known-flat plate glass. If light passes under the steel, file or grind the high spots until the tang sits fully flat.
Scales: Stretch 220-grit sandpaper taut on the same flat surface. Rub the scale in a steady figure-eight pattern with firm, even pressure. Check often; when the mating face shows uniform scratches, mark that face with a pencil X so you do not epoxy the wrong side down later.
Drilling the Scales Safely
Drill one scale at a time rather than stacking both and drilling through in one pass. That only works if the press and table are perfectly square; a tiny angle error misaligns the holes when you flip the blank, and pins will not seat.
Lay the tang on the flattened scale where you want it to sit. Wrap electrical tape tightly around tang and wood. The tape holds alignment and backs the wood so the bit does not blow out splinters on exit. Drill through the tang holes with a 3/16-inch bit, using the steel as a drill guide. Repeat for the second scale.
Prepping and Fitting Your Pins
This project uses 3/16-inch black G10 rod. Brass, copper, or stainless steel work as well. Cut pins a little long—about two inches—so they can align the assembly before the epoxy cures.
Chamfer both ends of each pin on the grinder so they slide in without catching.
Pins should fit loose. The epoxy carries the load; pins mainly align the scales and resist shear that could break the bond. Tight pins hammered in during a rushed glue-up split hardwood instantly. Run a 3/16 hand reamer through each hole after drilling. If a pin still binds, chuck it in a hand drill, spin it lightly against fine sandpaper, and reduce the diameter until it passes through the wood by hand.
The Crucial Pre-Shaping Step
With pins sliding freely, pin one scale to the tang and trace the tang outline on the wood with a fine Sharpie. Mark R and L on the respective scales. Bandsaw just outside the line on each piece.
Shape and finish the front curve of each scale—the edge toward the blade—before glue-up. Pin both scales together off the knife so they stay matched, refine the curve on the grinder, and hand-sand that edge to 400 or 600 grit now. Sanding that tight junction after the scales are glued almost always drags abrasive across the plunge lines and ruins the blade finish.
The Epoxy Glue-Up Process
West System two-part epoxy is a standard shop choice. Two common options:
- G/5 epoxy — fast cure. Real working time is often closer to three minutes than five; mistakes are hard to correct once the mix stiffens.
- F/flex epoxy — slower, more forgiving cure. Better for a first glue-up when you need time to align pins, check orientation, and wipe squeeze-out.
For beginners, the slower system is worth the wait. Set out clamps before you mix. Wipe the tang and the inside faces of the scales with acetone to remove wax, oil, and dust.
Mix thoroughly. Brush a thin, even coat on the tang and scale—avoid heavy beads that will pump out under clamp pressure. Insert pins, tap gently if needed, and apply three small clamps staggered along the handle.
Wipe squeeze-out immediately, especially at the ricasso where wood meets blade. Acetone on a light rag works; hardened epoxy in that corner is miserable to remove without scratching steel. Let the assembly cure overnight before profiling.
Profiling the Handle on the Grinder
Remove clamps once the epoxy is fully cured. Trim excess pin stock. Stainless pins heat quickly on a belt and can burn the wood and soften the epoxy—use a hacksaw or grind carefully with light contact.
Install a fresh 36-grit belt, run the grinder at low speed, and wear a respirator. Wood and G10 dust are not safe to breathe. Grind the excess wood along the spine and belly until you see faint sparks—that means wood is flush with the tang. A small wheel helps clean finger grooves. Finish exposed steel on the spine with a conditioning belt or TriZact A300 to remove coarse scratches.
Sculpting and Contouring for Comfort
With the profile flush to the tang, remove the blocky corners. Light layout lines on the spine—perhaps ⅛ to ¼ inch in from each edge—help keep the flare symmetrical toward the butt.
A hand rasp works; a belt grinder is faster. Hold the knife at roughly 45° to the belt and knock down the square edges, checking often. A comfortable full-tang handle often reads as a teardrop from the butt: slightly fuller toward the spine, thinner where the fingers wrap underneath. Stop frequently and grip the knife bare-handed to find hot spots or sharp facets.
Final Sanding and Tung Oil Finish
Clamp the knife and sand the handle with 220 grit in a shoe-shine motion across the curves. That motion rounds the 45° facets from grinding, blends wood down to the pins, and removes deep belt scratches.
Wipe with acetone on a paper towel between grit checks; acetone raises any scratches you missed. Move to 400 grit for the final wood surface. Blend the wood-to-spine transition until it feels seamless.
Protect the raw wood with tung oil. A soak overnight in a jar gives deep penetration; wipe all excess oil from the handle and clean the blade with acetone so dried oil does not leave a hazy film on the steel. Additional rubbed coats build sheen if you want it. On walnut, the grain should read clearly through a durable, hand-friendly finish.
That completes handle construction for this build. The final lesson in the series covers sharpening the edge.
If you have questions about the tools or techniques here, reach out through the contact form.
To follow along with the full series—including this lesson on video—see the Bladesmithing 101 playlist on YouTube.
Supplies mentioned
Products referenced in this lesson and in the video on YouTube:
- G/5 epoxy — fast-cure two-part epoxy for experienced glue-ups
- F/flex epoxy — slower, more forgiving two-part epoxy; recommended for first handle glue-ups
For the full build-along series, see the Bladesmithing 101 playlist on YouTube.